Field type: attachments
The attachments field is important because it allows you to store files inside GraceBlocks. For example, if you are tracking candidates, you may want a place to store their resume, cover letter, writing samples, or even transcripts. By using the attachments field, you create a place to store and manage these attachments with ease inside your Blocks. To incorporate attachments, a builder will choose the attachments field type when managing fields.
You can view the available properties for short text fields on the Edit field properties modal when you select Field type of Attachments.
Properties of Attachments fields
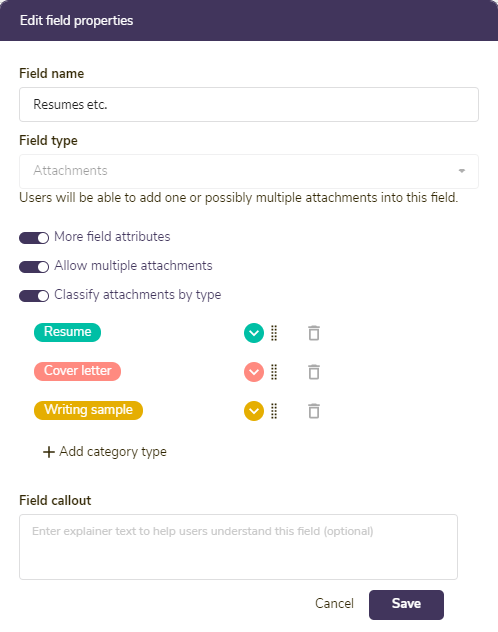
When you are creating an attachments field, you first specify a Field name (which controls how this field is referenced inside the record) and that the field will be of the type Attachments. Then, you can toggle on More field attributes to show the options below. Complete the transaction at the end by clicking Save.
| Property | Description |
| Private field | Use this setting if only authorized users should be able to access this field. If this is applied, the field will be locked out from the user's view entirely unless they are authorized to access private fields. This setting works in conjunction with the security access control tab setting: View private fields. If a field is private, only users authorized to view private fields will be able to view, edit, see history, filter, or download this data. Click here to learn more. |
| Allow multiple attachments |
By default, Allow multiple attachments is enabled, allowing users to store more than one attachment to the field. Disable this option if each record should support only one attachment being associated with the field. |
| Classify attachments by type | Toggle on the Classify attachments by type option to enable multiple types of attachments to be stored in this field for the record. This example specifies 4 possible attachment types: Resume, Cover Letter, Writing Sample, and Transcript. To learn more about creating attachment categories, review the steps below for creating and managing attachment categories. |
| Field callout |
If you enter any text into the Field callout textbox, the information (i) icon appears to the left of the field name, and the text you entered displays when users move the cursor over this icon. Enter text here if you want to provide information to help the user learn more about how to use the field.
|
Important notes
🔔 Builders can create web forms to capture records via an online webpage that can be published for distributed or public access. When using the attachments field on a web form, there are a few things to keep in mind:
- Builders can specify the maximum file size of allowed attachments (under form settings).
- When configuring a specific attachments field on the form, the builder can specify how many attachments the user can upload.
- If attachment categories are used, the system treats each category as an individual attachment field.
- Using the image above as an example, a builder might limit the max file size to 2 MB and then for the attachment field might allow attaching 1 resume, 1 cover letter, up to 2 transcripts and up to 3 writing samples.
🔔Follow these steps to create and manage attachment categories:
| Step | Action | Visual | ||||
| 1 | Toggle on the option for More field attributes. |  |
||||
| 2 |
Toggle on the option for Allow multiple attachments. |
 |
||||
| 3 |
Toggle on the option Classify attachment by type. |
 |
||||
| 4 |
Click + Add category type. A text field appears for entering the first category name. |
 |
||||
| 5 |
Enter the first category name. |
|||||
| 6 |
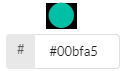
A color is automatically assigned to the category. To choose your own color, click the color dropdown. The color picker will appear. |
 |
||||
| 7 |
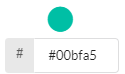
Confirm the color by picking a color bubble. If you would like a custom color (supported on paid plans only), enter the custom hex value into the hex value box. |
 |
||||
| 8 |
Choose whether the text overlaying the bubble will be white or black by clicking the color bubble above the hex value. This will toggle between white and black text options. |
|
||||
| 9 |
Click Save inside the color modal to save the color option. |
 |
||||
| 10 |
Repeat steps 4 - 9 until you have entered all categories. |
|||||
| 11 |
Click Save on the Edit field properties page to save the attachments field and all of its defined properties. |
|
Important note
🔔 Dark colors work best for attachment category colors.